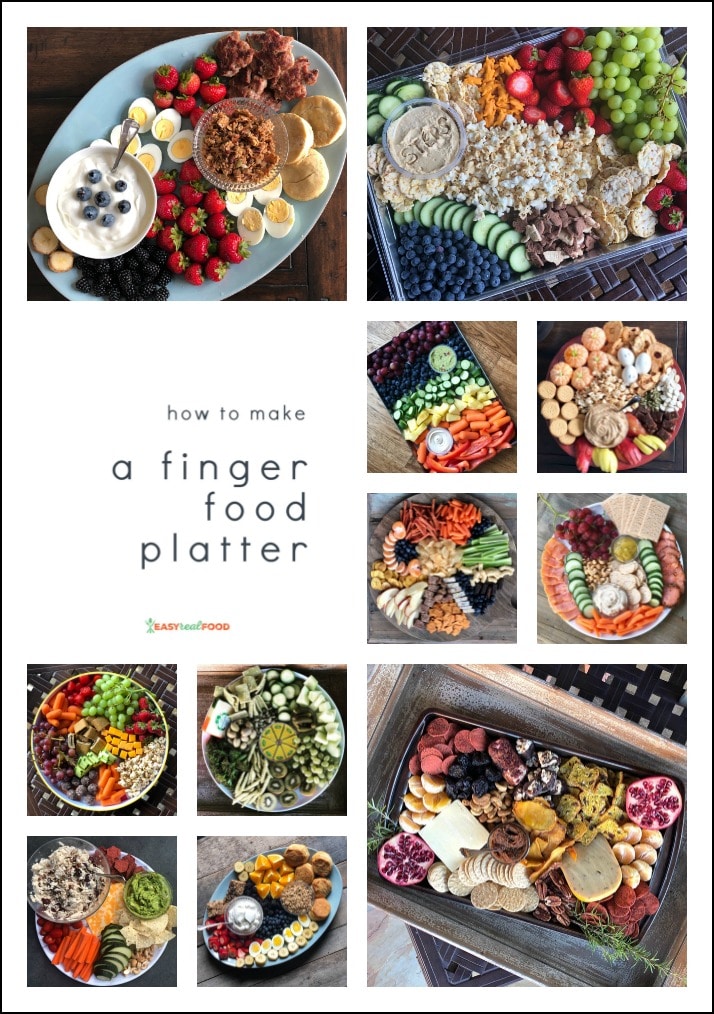
Looking for an easy appetizer for a crowd? Or a fun way to inspire kids to try different foods? How about a last minute dish for when company is coming? Platter, finger food plates, grazing dishes, cheeseboard or charcuterie – whatever you like to call them, they’re the perfect answer for fun party food or even lazy weeknight meal. Here are tips on how to make finger food platters and lots of visuals to get you inspired.
If you follow me on Instagram, you probably know that I’m a huge fan of finger food platters. So today I’m going to share all about them – why I love making and serving them, what to put on finger food platters, and a number of tips on how to arrange foods for this simple appetizer/meal. I’ve also included a number of visuals to get you started! Let’s take a look, and start from the beginning:
Why make a finger food platter?
- Sometimes called grazing platters, grazing plates and even boards, they offer a wide variety of foods so that everyone can find something that they like.
- Platters are a wonderful way to use up foods that you have in your fridge and pantry. You don’t generally need a full box/bag of each food, so they are great for last minute appetizers or meals for last minute guests.
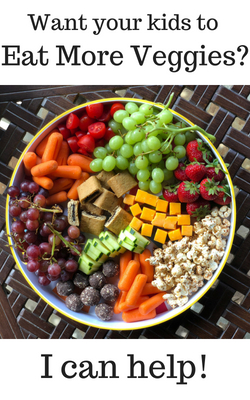
- I’ve found that finger food platters encourage people (kids!!) to try more foods. They have say in what they choose, and only have to take one piece. This is a wonderful way to encourage kids to try something new.
- And to go along with the above – this is also a fun way for adults to discover new foods that they may not have tried either!
- They are FUN and have wonderful eye appeal. I have yet to serve a finger food platter that doesn’t get a bunch of ooohs and ahhhs. There’s a great wow factor and almost always get the likings of company.
What do you put on a finger food platter?
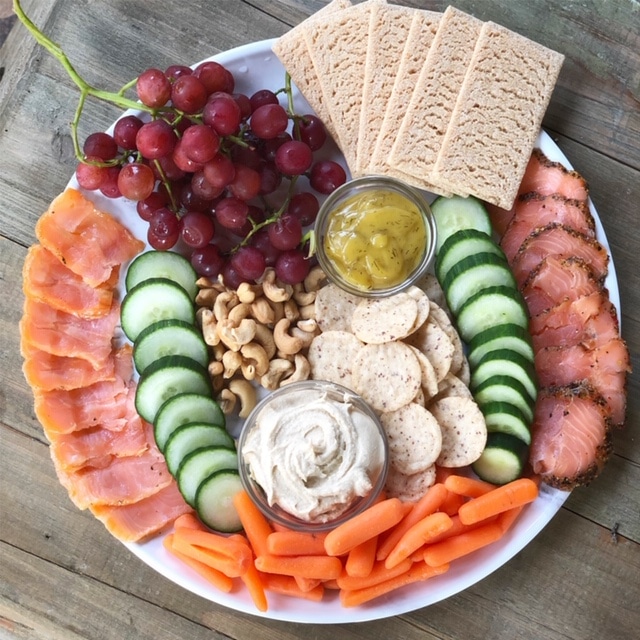
Honestly, the options are endless as to what you put on a food platter. You can follow a theme in your creation, or you can simply raid the pantry and fridge. The key is to include a variety of textures and colors. You want visual appeal, and obviously taste/food appeal as well.
Tips on what should be on a charcuterie board or food platter
- Slice hard cheeses to make it easier for guests to select and enjoy.
- As a rule of thumb, you’ll want to include a minimum of 1 hard cheese and 1 soft cheese. Along with that, be sure to include something savory and a minimum of 1-2 fruits. Grapes and strawberries are generally a good choice in this scenario. Dried fruits are also a great addition!
- Veggies are sometimes better blanched before adding to a board. Examples include broccoli, cauliflower or broccolini. That said – serve right away and don’t do this the day before.
- Including dips? Consider including more than one. Think hummus, guacamole, baba ganoush, pico, salsa, queso, you get the picture. Vary it up for height and options. Make sure to put these in some dipping bowls/vessels.
- Don’t forget the garnishes! This can really add some visual appeal. Herbs, chopped veggies, a couple of pretty cut oranges or kiwis, just a little something to up the visual appeal a bit more.
Themed finger food platter ideas:
- Rainbow platter – make a rainbow using fruits and vegetables.
- Valentine’s Day platter – reds and pinks will be the base of this platter; add in some hearts, either made from strawberries or pepper pieces, or by using a heart-shaped cookie cutter.
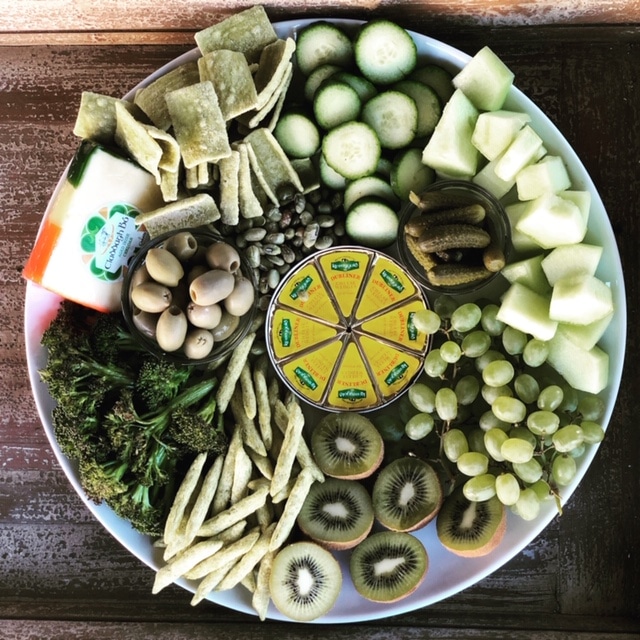
- St. Patricks Day platter – use green foods to create your board. Think green veggies, cheese, Irish specialty foods, and incorporate a little yellow if needed. Don’t forget a little rainbow!
- Pancake board – one of the latest trends and always a winner.
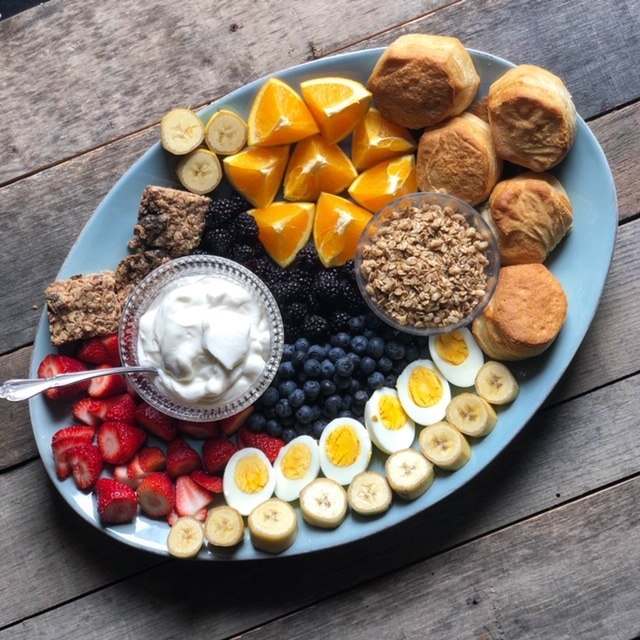
- A breakfast board – always a hit with my guests. Include anything from biscuits, hard boiled eggs, yogurt, granola, berries, bananas, other cut fruit, egg muffins, muffins – you get the picture.
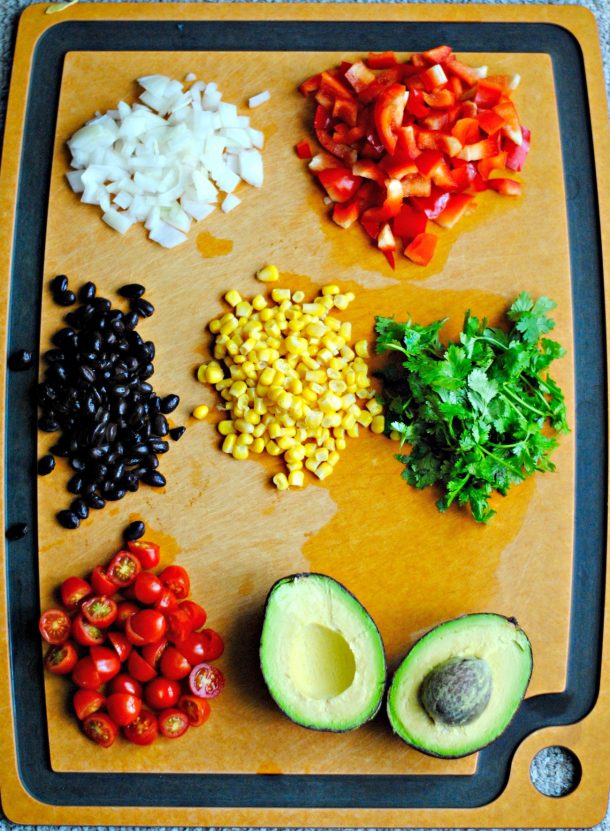
- Cinco de Mayo/Mexican platter – guacamole and salsa are definitely needed here, and obviously the tortilla chips are essential. Add in some cheese quesadillas, taquitos, snacking corn, mini tacos, Mexican-spiced baked sweet potatoes and plantain chips.
- Cheese board – an oldie but goodie, mix cheese, some grapes and berries for a simple crowd pleaser. Add some crackers and you’re set!
- Fall platter – I made a fall platter all with Trader Joe’s foods and it was a big hit!
- Christmas cookie platter – now we’re talking, right?! This one’s pretty obvious.
- Halloween platter – make some ghosts out of hard boiled eggs, peel some mini oranges and stick some celery pieces in the top, and find some fun-themed Halloween snacks to add to this. Round it out with some fall foods – think dried fruit, seasonal fresh fruit, some caramel dip and you’re set!
How to make a food platter:
- Have a plan. The first step in creating a finger food platter is to have a plan. Who, and how many will you be serving? What is the venue – inside or outside? Let this determine your platter size, after which you can decide how many ingredients to include. I honestly mostly map this out mentally, because things really start to come together when you start assembling.
- Think seasonally. As mentioned above, if you are around a certain time of year or even time of day, this can help dictate what you’ll include. Include seasonal produce and fresh meats and cheeses.
- Consider height. In addition to your platter, you want to include a small bowl (or two or three, depending on the size of the platter). This creates height and a visual aspect that people will look to. Spoon homemade dips (or buy prepared if need be) into bowls; add nut mixes or any foods that are too wet to sit side-by-side next to something else into a little container that will become a focal point. Be sure to spread these bowls around the platter and not have them next to each other.
- Vary your colors. Unless you are doing a one- or two-themed colored board, don’t put like colors next to each other. It’s often very easy to have lots of yellow next to yellow, but that’s boring to the eye – it’s much more appealing to have contrasting colored foods next to each other.
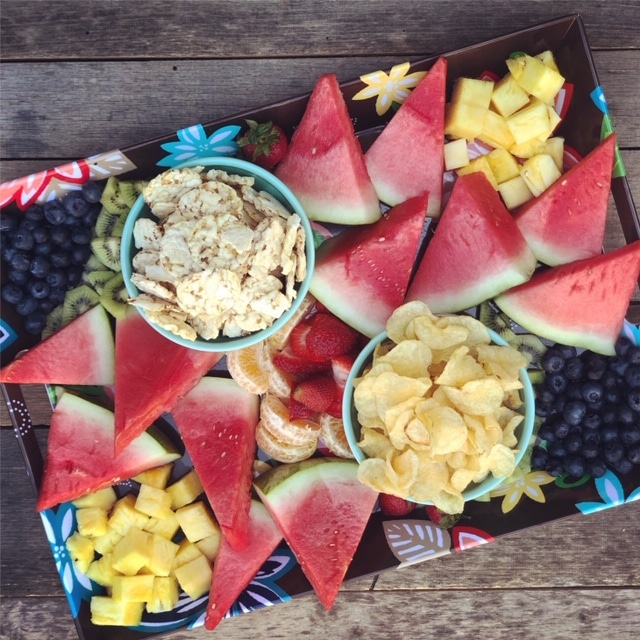
- Think texture, too. Some foods are wet, and obviously you want to be careful about what you place these by. For example, don’t put watermelon or pineapple chunks right next to crackers or nuts. Instead, place them next to something like grapes or even cheese so that they won’t get soggy. Keep cucumber skins on which will be resilient to water/moist foods.
Can I make a charcuterie board/food platter ahead of time?
I always wait and assemble my finger food platter 1 hour before company arrives. That being said, there are a few things that I do to prep:
-Wash and cut all vegetables and fruit and store separately.
-Decide which board or platter you are going to use to display your food.
-Blanch vegetables that need it before assembling
And there you have it! I know there are so many beautiful charcuterie boards and food platters out there. I’ll keep adding visuals to my Instagram feed as I go along, and please comment below if you have more tips and visuals to share with me. Happy entertaining!